1. Create an Angular App.
2. Install dependencies
3. Create DialogFlow project
4. Integrate
Lets Start ;)TL;DR
You may see the codes in this repo :
https://github.com/NurettinYAKIT/nurettinyakit.com/tree/master/docker-example
Create an Angular App
This is the easy part. Here is the command
ng new first-chatbot
|
Install Dependencies
npm install api-ai-javascript -D --save
npm install rxjs@6 rxjs-compat@6 --save
npm install milligram --save
npm install api-ai-javascript -D --save
npm install rxjs@6 rxjs-compat@6 --save
npm install milligram --save
|
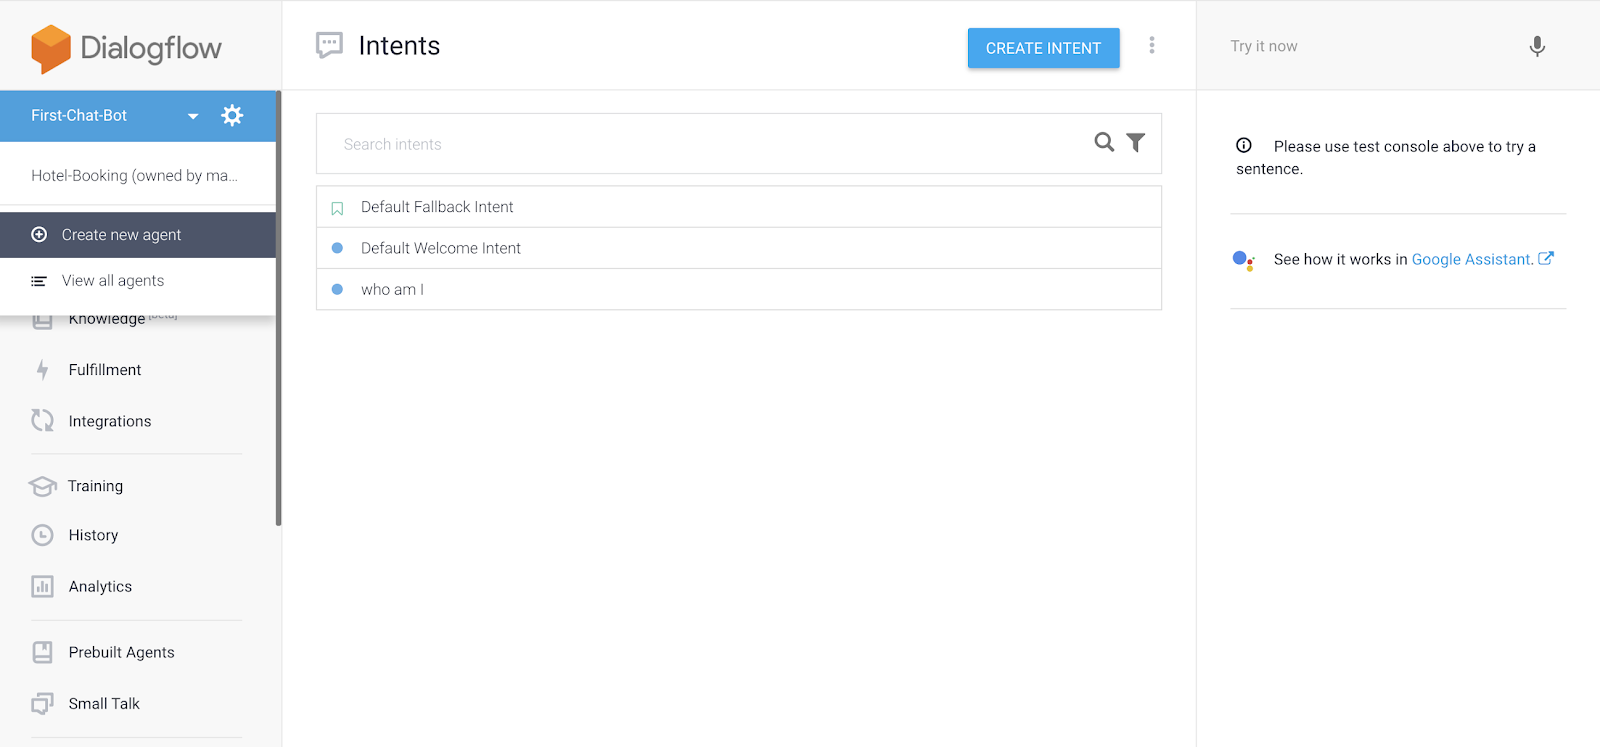
Create DialogFlow Project
Go to the dialog flow and login with your Google account.
Create an Intent
With intent, you may create your own question/response.
1. Add your question(s) to the "Training Phrases" this training data will be used by the AI.
2. Add your response to the "responses". These responses will be linked with your training data.
The Dialogflow will provide the response as a json object as below :
|
Integrate
1. Place your Client access token to your environment.ts (That you've copied from the DialogFlow project settings)
// This file can be replaced during build by using the `fileReplacements` array.
// `ng build ---prod` replaces `environment.ts` with `environment.prod.ts`.
// The list of file replacements can be found in `angular.json`.
export const environment = {
production: false,
dialogflow: {
chatbot: 'YOUR_CLIENT_ACCESS_TOKEN_HERE'
}
};
/*
* In development mode, to ignore zone related error stack frames such as
* `zone.run`, `zoneDelegate.invokeTask` for easier debugging, you can
* import the following file, but please comment it out in production mode
* because it will have performance impact when throw error
*/
// import 'zone.js/dist/zone-error'; // Included with Angular CLI.
2. Create a component & Service
ng g module chat
ng g service chat -m chat
ng g component chat/chat-dialog -m chat
Service layer (chat.service.ts)
import { Injectable } from '@angular/core';
import { environment } from '../../environments/environment';
import { ApiAiClient } from 'api-ai-javascript';
import { Observable } from 'rxjs/Observable';
import { BehaviorSubject } from 'rxjs/BehaviorSubject';
@Injectable({
providedIn: 'root'
})
export class Message {
constructor(public content: string, public sentBy: string) { }
}
export class ChatService {
readonly token = environment.dialogflow.chatbot;
readonly client = new ApiAiClient({ accessToken: this.token });
conversation = new BehaviorSubject<Message[]>([]);
constructor() { }
update(msg: Message) {
this.conversation.next([msg]);
}
converse(msg: string) {
const userMessage = new Message(msg, 'user');
this.update(userMessage);
return this.client.textRequest(msg)
.then(res => {
const speech = res.result.fulfillment.speech;
const botMessage = new Message(speech, 'bot');
this.update(botMessage);
})
;
}
talk() {
this.client.textRequest('Who am I')
.then(res => console.log(res))
;
}
}
Component (chat-dialog/chat-dialog.component.ts)
import { Component, OnInit } from '@angular/core';
import { ChatService, Message } from '../chat.service';
import { Observable } from 'rxjs/Observable';
import 'rxjs/add/operator/scan';
@Component({
selector: 'chat-dialog',
templateUrl: './chat-dialog.component.html',
styleUrls: ['./chat-dialog.component.css']
})
export class ChatDialogComponent implements OnInit {
messages: Observable<Message[]>;
formValue: string;
constructor(private chatService: ChatService) { }
ngOnInit() {
// this.chatService.talk();
this.messages = this.chatService.conversation.asObservable()
.scan((acc, val) => acc.concat(val));
}
sendMessage() {
this.chatService.converse(this.formValue);
this.formValue = '';
}
}
Front-End (chat-dialog.component.html)
<h1>
chat-dialog works!
</h1>
<ng-container *ngFor="let message of messages | async">
<div class="message" [ngClass]="{ 'from':message.sentBy==='bot',
'to':message.sentBy==='user' }" >
{{message.content}}
</div>
</ng-container>
<label for="nameField"> Your message </label>
<input [(ngModel)]="formValue" (keyup.enter)="sendMessage()" type="text"> <br>
<button (click)="sendMessag()">Send</button>
Add milligram to your index.html
<link rel="stylesheet" href="//fonts.googleapis.com/css?family=Roboto:300,300italic,700,700italic">
<link rel="stylesheet" href="//cdn.rawgit.com/necolas/normalize.css/master/normalize.css">
<link rel="stylesheet" href="//cdn.rawgit.com/milligram/milligram/master/dist/milligram.min.css">
And add a custom CSS to make your app looks better ;)
.message {
border-radius: 50px;
margin: 0 15px 10px;
padding: 15px 20px;
position: relative;
font-weight: bold;
width: 30%;
}
.message.to {
background-color: #2095FE;
color: #fff;
margin-left: 100px;
text-align: right;
}
.message.from {
background-color: #E5E4E9;
color: #363636;
margin-right: 100px;
}
.message.to + .message.to,
.message.from + .message.from {
margin-top: -10px;
}
Done!
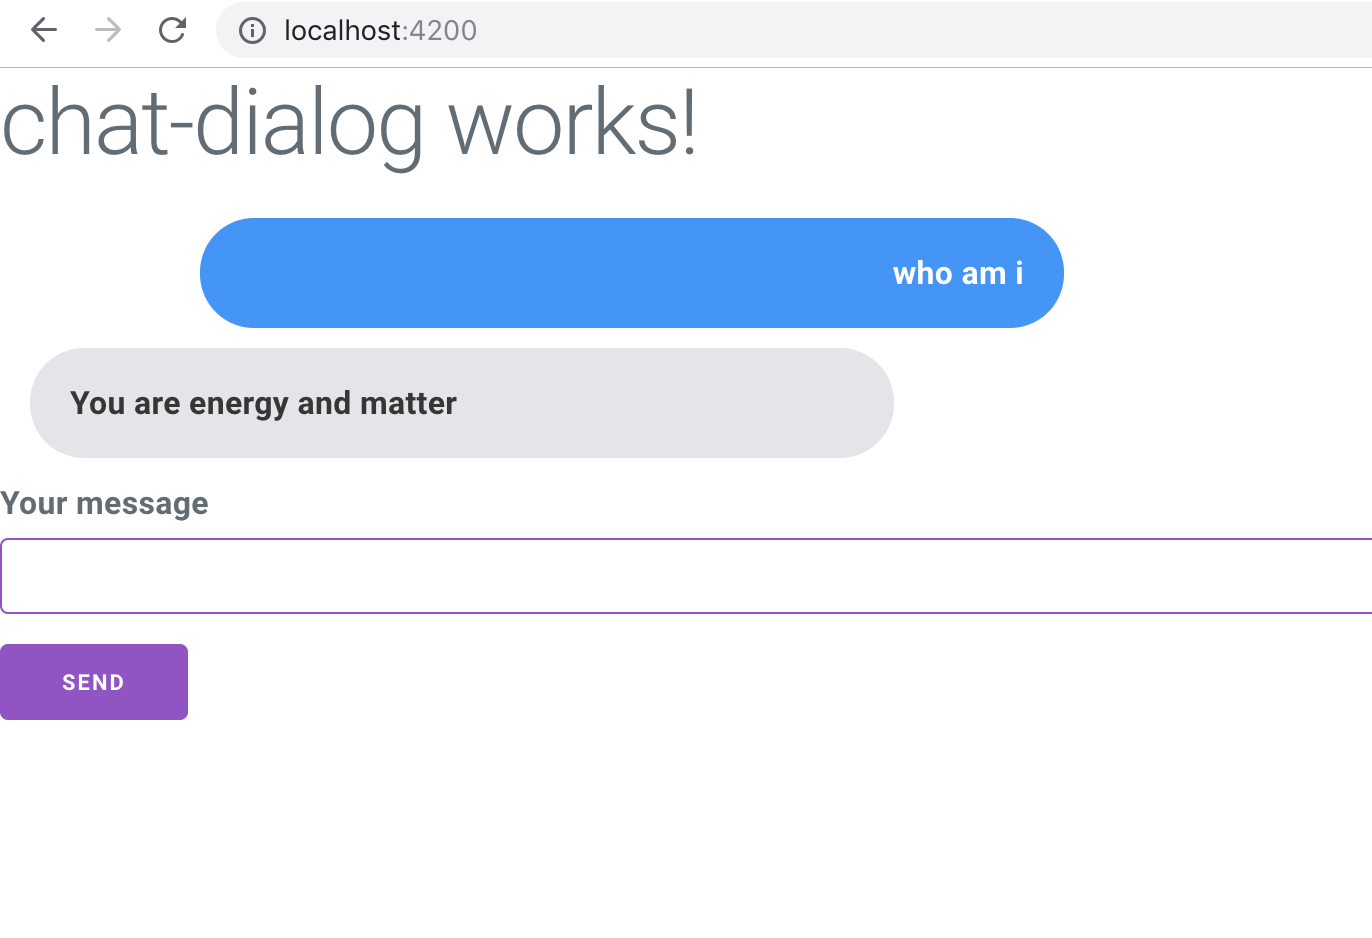
Now run your app. And enjoy your first chatbot application with machine learning feature ;)
|
Open localhost:4200 And here is your app


No comments:
Post a Comment